🎨 Creating Your Own Easter Egg Canvas Art
Engage your preschooler's creativity this Easter with our step-by-step guide to creating your very own Easter Egg Canvas Art. This fun and easy project is perfect for little hands and big imaginations. It's not just about crafting; it's about creating lasting memories and learning through play.
Before you start, make sure you have all the necessary materials on hand. You'll need a blank canvas, acrylic paints in various colors, paintbrushes, and an image of an Easter egg for reference. If you're looking for inspiration, check out these unique and creative mini canvas painting ideas.
Once you've gathered your materials, it's time to prepare your workspace. This is an important step as it helps protect your home from potential paint spills and stains. If you're new to canvas painting, you might find these tips for canvas painting beginners helpful.
Start by painting the entire canvas in a light color to create a background for your Easter egg. This is a great opportunity for your preschooler to experiment with different color combinations. For more fun painting ideas, take a look at these creative mini pumpkin painting ideas.
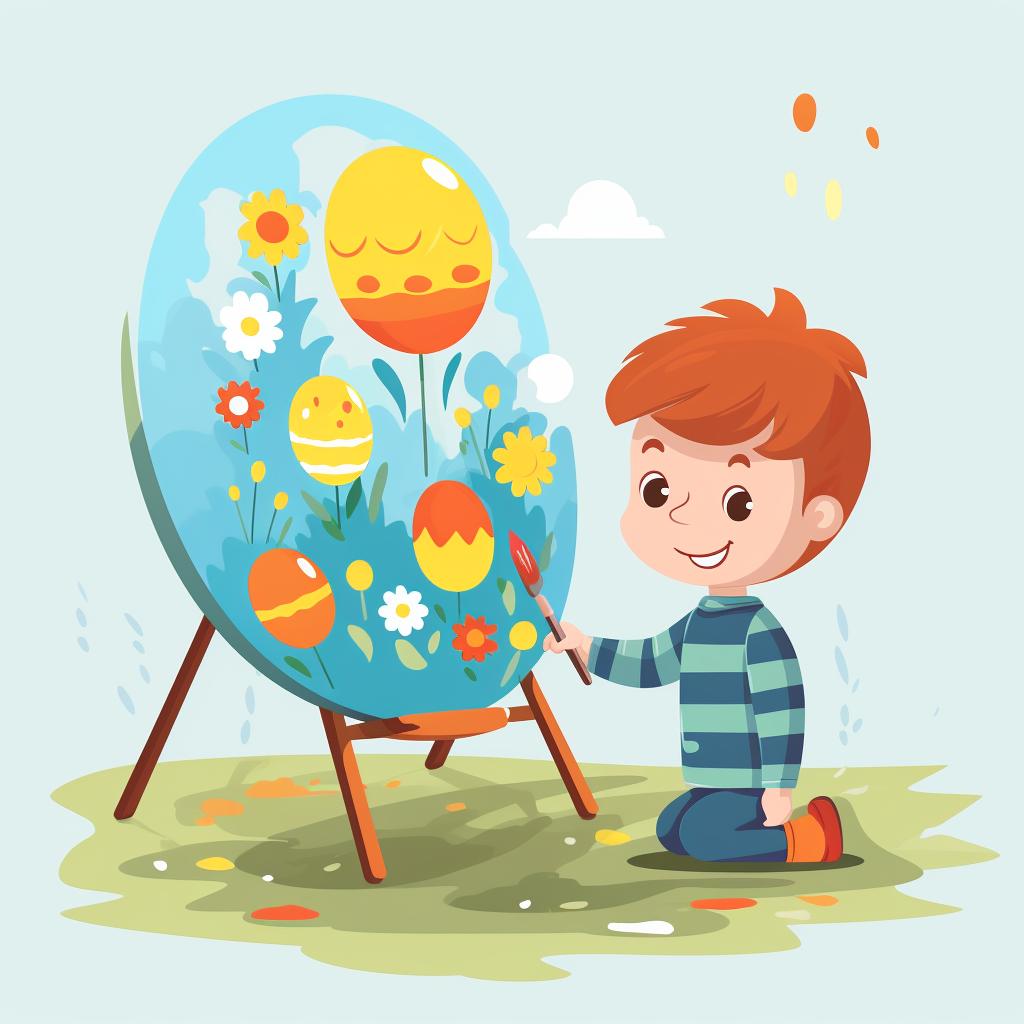
Next, draw the outline of an Easter egg on the canvas. If your child is not comfortable drawing, you can help them with this step. This is where their creativity can truly shine as they paint the Easter egg in any colors and patterns they like. If you're looking for more Easter-themed crafts, check out these fun and easy preschool crafts for Easter.
Once the painting is finished, let it dry completely. Then, find a place in your home to display your preschooler's beautiful Easter Egg Canvas Art. This is a wonderful way to celebrate their creativity and hard work. Plus, it's a great conversation starter when you have guests over!
Remember, the goal is not to create a perfect piece of art, but to have fun and enjoy the process. Happy crafting!


